Showing posts with label Sunshine Sayings. Show all posts

5/06/2019

Old to New: Poppy

Howdy all! A little different share tonight.

I've been on a mission for the last year or so to sort through and eliminate excess "stuff" from my stamp room. Progress has been made but still a LONG ways to go! My most recent focus is cut cardstock packets that are hanging around. Anytime time I did an event, I packaged items for each card in cello bags. Enough for the number I knew was attending, plus a few more in case of extra guests. Those "extra" have accumulated over the years and I have STACKS of them sitting around. I decided over the weekend to remake them into cards I can use. Most will have retired products on them and I generally wouldn't share that, but I want you to see the difference! I'm also hoping to start mailing cards on a regular basis, so this will help! I started working up a birthday list tonight, and I spent some time this afternoon sorting the "made" cards by category so I can easily grab one when needed!!

Here is the first card I did from the packets. There are two versions because of DSP limits. These were from an Open House where I usually prepped at least 20. DSP doesn't always go that far, so I used several patterns. I completed 8 or 9 cards total of these two patterns.


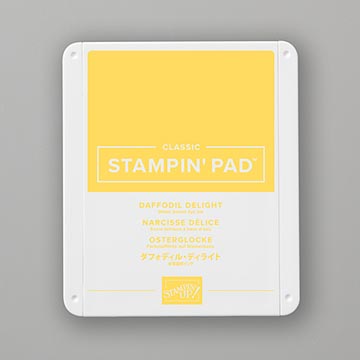
Colors are Poppy Parade, Daffodil Delight and Peach Parfait (retired). I'm not a huge fan of red, but I love this Poppy Parade. Very glad it returned to the line up:)
 

Next is the original card.


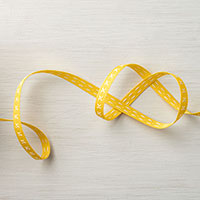
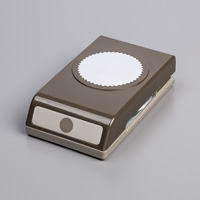
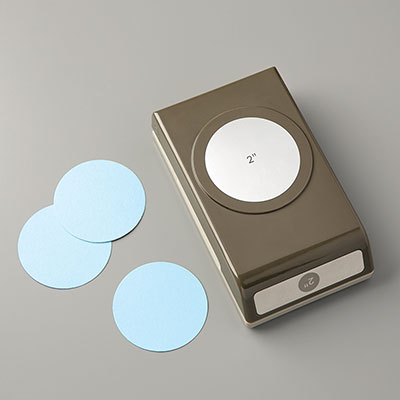
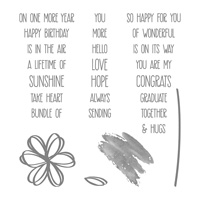
I eliminated the pom pom trim (too bulky!) and the center strip of punched Peach Parfait. Instead of the old scallop punches, I used the Starburst punch in Poppy with a Whisper White 2" circle. Stamped the flower from Sunshine Sayings in Daffodil Delight, and Happy Birthday in Poppy Parade. Attached with Stampin' Dimensionals over Daffodil Ribbon. I had strips of Poppy and Whisper with the packets for punching so that worked well. The Daffodil Ribbon is retiring this year, so good to use it up! 

Thanks for stopping by! I'll be back soon with another packet share and a Paper Pumpkin. Shopping links below for products that are available!!
5/28/2018

Bermuda Sunshine!

Hello all! Thanks for stopping back by today! Made a little more progress on the stamp room yesterday and created a few things too! While sorting I found some cut cardstock from my last workshop. Actually, I have tons of things cut from previous events, but I'll worry about all that later. This particular set was enough for one card, and meant for the Triple Time technique. Here is what I did.


Isn't that happy? It also works for a challenge I found yesterday at Inspire. Create.


The base is Bermuda Bay, the backgrounds are Whisper White. I grabbed the flower from Sunshine Sayings and stamped it in Bermuda Bay, Coastal Cabana and the NEW Pineapple Punch. Remember, that to do this you layer (with light adhesive) all the Whisper Whites together and then stamp. Take them apart and layer onto Bermuda Bay. Awesome! The ribbon is also Pineapple Punch, 1/8" Grosgrain. I attached it around the layer and wrapped 3 times, then knotted two around. The saying is two different stamps also from Sunshine Sayings stamped with Memento Tuxedo Black.

Happy Stamping all! Product details and link to my online store are below!


3/15/2018

Remarkable You CTD#484

More playing with the watercolor spritz technique! This one inspired by the color challenge this week at The Color Throwdown. Purple is my thing, so I had to give it a whirl! Here is my card

 and their challenge graphic.


I started with a piece of Shimmery White cardstock and stamped the scribble image from Sunshine Sayings. Once in full strength Elegant Eggplant, once stamped off once Elegant Eggplant and once Emerald Envy. I then sat it off to the side on a scratch piece of paper and sprayed it with my water mister bottle. 

After it dried, I came back and stamped the leaf image from Remarkable You in Basic Gray over the color. At the bottom I added "just for you" from Work of Art also in Basic Gray. The ribbon is the FREE Sale-A-Bration item Shimmer Ribbon Pack, 1/4" Basic Gray. The background was mounted onto Emerald Envy, and then onto a card base of Elegant Eggplant after the ribbon was knotted. Lastly, I picked up my Wink of Stella pen again and went over the image. It honestly came out much darker than I wanted. Part because I squeezed too hard and got a big glob of glitter, maybe also part because the colors underneath are so dark. All in all though, it doesn't look terrible! Lesson learned. Dark colors might be better with a solid image, and no Wink!

Thanks for stopping by again today! I have one more of these to share, hopefully tomorrow. Then I've got to crack down this weekend and get my workshop for next weekend in order. I'm well on the way but need to finalize the projects and get my catties and flyers in order! Shopping links an product details below!


3/13/2018

Pink Watercolor Spritz

Hey all!! Boy was this fun!! I was browsing around the other day and pulled up a card I had pinned. The card led to a blog with a post and video about doing "watercolor spritz". See the Blog Post HERE by demo Kim Peck. Not sure if this is any official technique, or just what Kim called it. But, it looked fun so I decided to give it a try. Here is my first creation which worked for two challenges I came across this week. Just Add Water at Just Add Ink, and Any Shade of Pink by The Paper Players.


The card base is Melon Mambo, accent layer of Powder Pink and a background layer of Shimmery White. First step is to take the background and stamp 3 background elements on it. I chose the more solid "blot" image from Touches of Texture and stamped it 3 times. Melon Mambo in the Center, Blushing Bride below, and Powder Pink above. Next: spray it with water. This is the variable element. I didn't want to get it to wet, but you need enough for the colors to run together some! I'm happy with how this came out, and I'll be back playing again. Spray it with water on a scratch piece of paper that you can set aside to dry while you work on something else! I let it dry mostly on its own, then picked up my heat tool and gave it the once over :) I attached it to the accent layer before stamping the flower image. I wanted to make sure it was flat as possible and not moving around! The flower image is from the same set and was inked with Basic Black (Archival). I tied a Powder Pink ribbon around and added a saying at the bottom from Sunshine Sayings. Almost as an afterthought, I picked up my Wink of Stella and colored the flower image with clear glitter. LOVE!! Really makes the image pop!

Thanks for stopping by today!! Product details and store links below!! Back soon... I hope!! NCAA basketball may be a distraction, especially when my K-State Wildcats play Friday night, but I hope to keep this creating and posting going!!