Showing posts with label Old to New. Show all posts

2/21/2021

Old to New tag cards

Good morning all! Made it to the stamp room last night and finished another "old to new" project. Feels good to be using up these products and adding cards to my stash of ready to mail! I had 11 sets of this cardstock, so I did a variety of images. Hey Chick, Hey Birthday Chick and Darling Donkeys. All perfect!


Here is the original card from an Open House in 2011. Details here

Colors are Soft Suede card base, background of So Saffron. The tag is a retired die cut, then layers of So Saffron and Naturals White (retired). Basic White or Very Vanilla would work just fine. I stamped all the critters on the Naturals White with Soft Suede. I added color with markers in So Saffron, Pear Pizazz and Petal Pink. The Soft Suede was done with a blender pen and ink from the top of the pad. I was afraid the marker would be too dark! The saying on each was also done with Soft Suede.  I went over the entire chicken on each of those cards with Stella. On the Donkey I just did the rose. The Saffron background was textured with the Tin Tile 3D Embossing folder. I threaded through some (retired) Espresso bakers twine and knotted at the top of the tag. Once layered all together the tag was attached over the background with dimensionals. 

Thanks for stopping by today! Product details and shopping links below. Snow again here today so likely making it back to the stamp room this afternoon. Super tired of the snow but appreciate the stamp room time!

Click HERE to Shop My Online Store!!


Product List

2/16/2021

Old to New Dragonfly Garden

Howdy all, hope you are staying warm and well! It has sure been brutal! Sunshine was good to see today and I'm excited for temps in the teens tomorrow 😍

As I mentioned on Facebook Monday night, I spent most of Monday in the stamp room. What started out as a quick clean off of the desk ended up being a clean and sort most of the day. Mostly putting away and making room to walk through and sit on the couch! But while doing that I came across a few kits from previous classes that intrigued me. When I was doing club and classes on a regular bases I always prepped the cards ahead of time by cutting all the cardstock. I have TONS of little packets of cut card stock hanging around. Sometimes they speak to me and ask to be used up! I like to call these Old to New, and here are the New.

Remember these likely use several retired items, but if you like the idea ask and I'll help you find something current that will give you a very similar look!

I did two versions of the NEW using the new Dragonfly garden set.


And here is the original, from an Open House back in 2012. Details are HERE if you want to flash back!

Card base is previous In Color Summer Starfruit. Not one of my faves if I'm being honest, but I like it with natural images like these. Accent layer of Early Espresso, background layer of (now retired) Naturals White. Same technique on all with a little variance. All 3 shadow elements were achieved by cutting a die shape and sponging through it. Old used sponges, New uses the new blending brush. I looked through all my current dies and settled on Tasteful Labels, and then couldn't decide so I did two different ones. For each, I held the piece the die was cut out of over the background. I then brushed my Blending Brush over the pad, and then onto the background in a swirling motion. This inkpad was dry so they came out a little light but OK. There was no issue with too much ink on the brush!

The top card uses the wider template, so I thought both dragonflies would fit and they do. They are stamped in Early Espresso, along with the saying. I brushed the dragonflies with Stella, found a different retired Early Espresso ribbon to knot around, and added 3 rhinestones for accent.

The flower one uses the narrower template. These flowers are super tall and I didn't want them "running" off the bottom so I put a sticky note near the bottom of the template, about where I thought I would want the ribbon. I colored the flowers just a bit with the Starfruit and Espresso markers and then added some Stella. They saying on this one seemed to sit best at the bottom, and again 3 rhinestones for accent.

Several packages used up and 5 cards now in my stash of ready cards. Thanks for stopping by today. Shopping links and product details available. There is another project already on my desk and a few hanging in the wings so hopefully back soon :)

Click HERE to Shop my Online Store!!


Product List

5/07/2019

Old to New: Concord

Ohh, man! I love this "old" color! Concord Crush was definitely a favorite. **IS a favorite! The only retired color ink pad that still resides on my stamp table!! 11 cards created today in this combo.


This scan really doesn't do it justice. The case base shows as too dark, and the bow to light. Trust me, in real life it is awesome! Perfect blend.

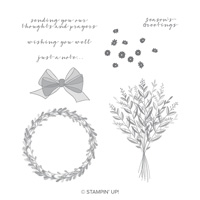
Wishing You Well Stamp set. Card base is Concord Crush on which I stamped the small flowers around the edge. Accent layer of Pear Pizzazz and Whisper White background. Bow stamped on a separate strip of Whisper White and fussy cut. Saying at the bottom in Concord Crush. Stem image in Pear Pizzazz. Flowers over in Concord Crush. Oh, and some Stella on the bow!

Here is the original card these layers were cut for. Another Open House creation.


These flashbacks are awesome! This frame embossing folders was very neat. I've come across several samples recently. The stamped images here were completely embossed with Iridescent Ice EP. Fun! Full details HERE on this card.

Thanks for stopping by today! Product details and shopping links below!


5/06/2019

Old to New: Poppy

Howdy all! A little different share tonight.

I've been on a mission for the last year or so to sort through and eliminate excess "stuff" from my stamp room. Progress has been made but still a LONG ways to go! My most recent focus is cut cardstock packets that are hanging around. Anytime time I did an event, I packaged items for each card in cello bags. Enough for the number I knew was attending, plus a few more in case of extra guests. Those "extra" have accumulated over the years and I have STACKS of them sitting around. I decided over the weekend to remake them into cards I can use. Most will have retired products on them and I generally wouldn't share that, but I want you to see the difference! I'm also hoping to start mailing cards on a regular basis, so this will help! I started working up a birthday list tonight, and I spent some time this afternoon sorting the "made" cards by category so I can easily grab one when needed!!

Here is the first card I did from the packets. There are two versions because of DSP limits. These were from an Open House where I usually prepped at least 20. DSP doesn't always go that far, so I used several patterns. I completed 8 or 9 cards total of these two patterns.


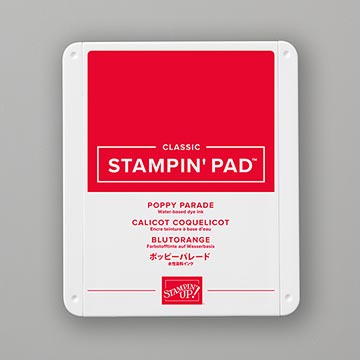
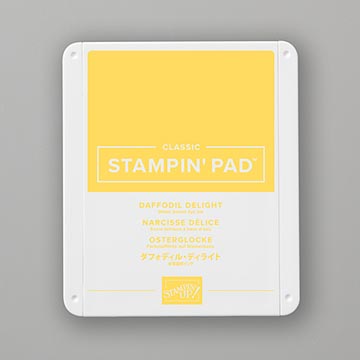
Colors are Poppy Parade, Daffodil Delight and Peach Parfait (retired). I'm not a huge fan of red, but I love this Poppy Parade. Very glad it returned to the line up:)
 

Next is the original card.


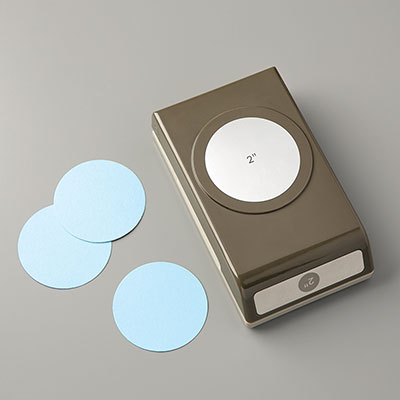
I eliminated the pom pom trim (too bulky!) and the center strip of punched Peach Parfait. Instead of the old scallop punches, I used the Starburst punch in Poppy with a Whisper White 2" circle. Stamped the flower from Sunshine Sayings in Daffodil Delight, and Happy Birthday in Poppy Parade. Attached with Stampin' Dimensionals over Daffodil Ribbon. I had strips of Poppy and Whisper with the packets for punching so that worked well. The Daffodil Ribbon is retiring this year, so good to use it up! 
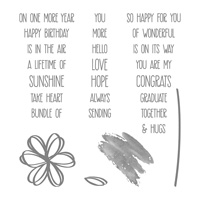
Thanks for stopping by! I'll be back soon with another packet share and a Paper Pumpkin. Shopping links below for products that are available!!