2/07/2020

Painted Sorry Birch

Morning all! This is a layout I've shared before, but one I will go back to time and again. Especially for Sympathy cards, I think it is perfect. And so many options! I tell you all frequently that many different colors will work with something I've done. Here is the proof on this one! There are three here, and will be three more in another post soon!  Remember too, change the saying and have an entirely different feel! Birthday, Thinking of you, Congrats? 


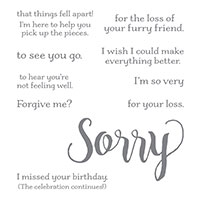
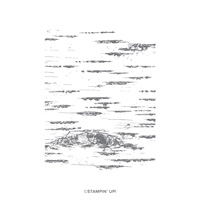
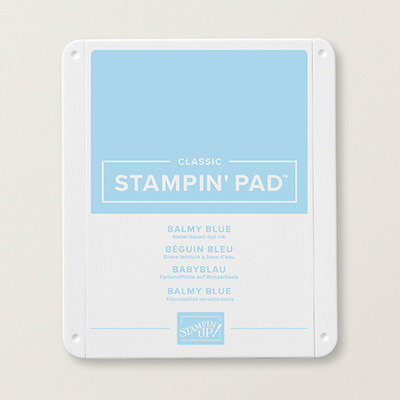
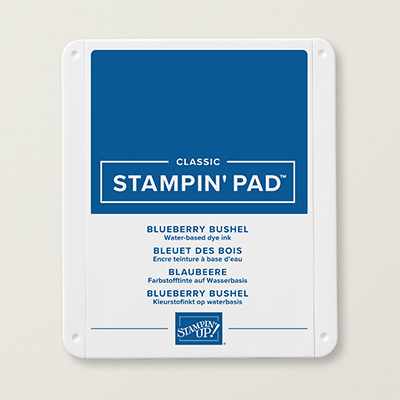
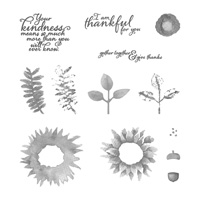
Sayings are from Sorry for Everything. Flowers from Painted Harvest. Non sunflower colors for all these! The first layouts I did with this idea used a DSP background in a wood print. Those are all gone, so I started with Very Vanilla cardstock and added a background stamp for "texture". These all use the Birch background and Crumb Cake ink. I sponged the edges of the background with Crumb Cake ink as well. They also all use Early Espresso as the accent layer, and ink for the center flower and saying.  Colors on this one are Blueberry Bushel, Balmy Blue and Granny Apple Green. Balmy is the "background petal", Blueberry the "center petal". Granny leaves. Espresso dots of varying ink strength. Card base is Blueberry Bushes. Lined thread attached around and a knot tied.


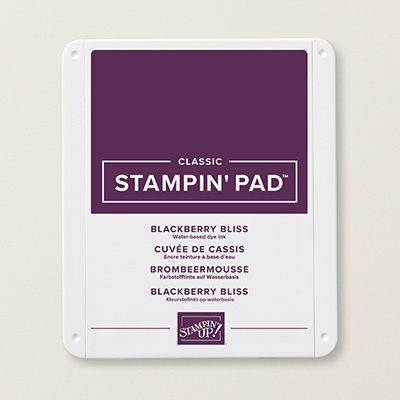
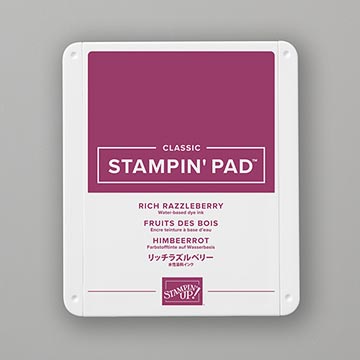
This one is Rich Razzleberry for the "background petal", Blackberry Bliss for the "center petal" and Garden Green leaves. 


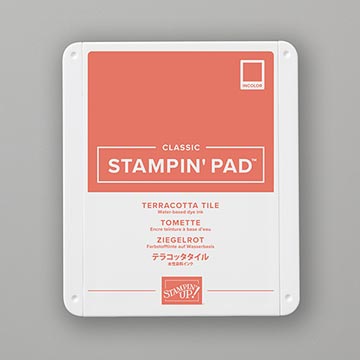
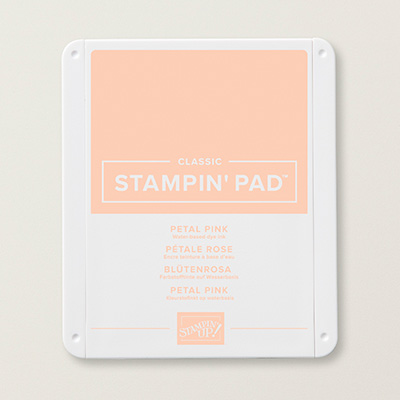
This one is a new combo for me, and one color I've only used once before. Gotta say, Terracotta Tile makes me think of clay pots, but it is a much prettier color than that! "Background petals" are Petal Pink, "center petals" Terracotta Tile, and leaves of Old Olive. Copper trim on this one instead of Linen Thread.

Thank you all for stopping by! Shopping links and product details below.
2/03/2020

Daisy Friend #ctd578

Hey all! Inspired this morning while browsing Facebook and email. I generally start my days there when at home. I came across this color challenge, and then a card on Pinterest and the idea was in my head. I tried to ignore it for a while, but finally gave in. Isn't it a happy card?


I saw this challenge earlier in the week and was intrigued. I've said this many times, I don't do red often but every once in a while it works!! The colors are from the Color Throwdown challenge of the week. Red, Dark Gray, Light Gray and White.


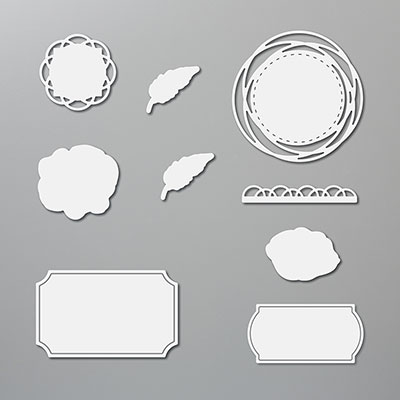
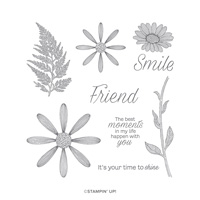
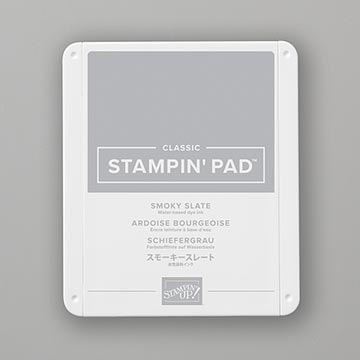
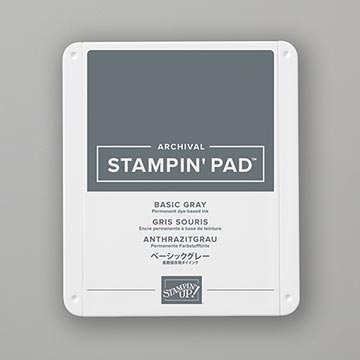
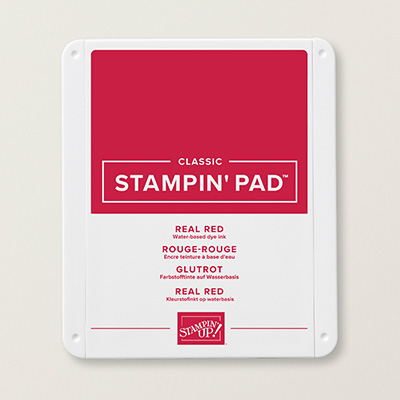
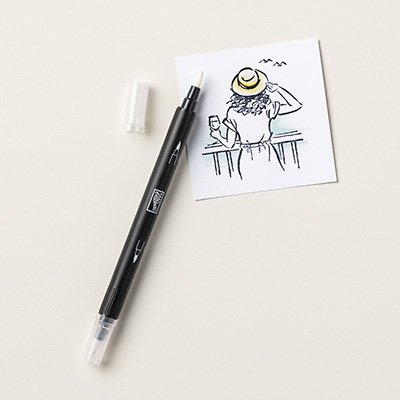
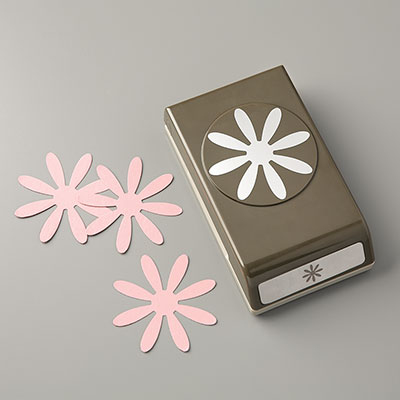
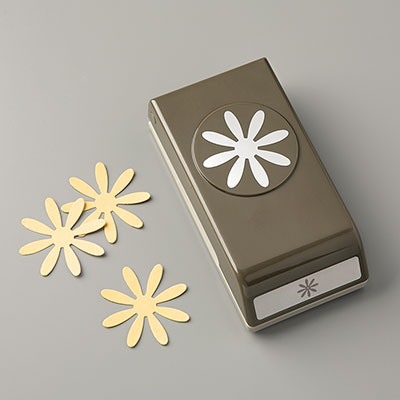
In Stampin' Up! Colors that is Real Red, Basic Gray, Smoky Slate and Shimmery White cardstock. Card base is Basic Gray, accent layer of Read Red. The background is the Birch Background stamped on the Shimmery White with Smoky Slate. The flowers and Friend are from Daisy Lane. I stamped the small ones with Basic Gray and punched. The large ones are Real Red, also punched. On the gray ones I colored with center Real Red with ink from the lid and a blender pen. When I tried that with the red ones they bled, so I stamped two more and just cut the center of the flower. I attached over the Real Red and blended with Basic Gray ink and a blender pen. The tag the friend is on is from the Painted Labels dies in the Mini. All flowers and the tag were attached with Dimensionals. Lastly I added some Shimmery Crystal effects to the flower centers.

Thanks for stopping by today! I have a few other cards from the weekend I will get to at some point this week! Product details and shopping links below.

2/01/2020

Posy Birthday

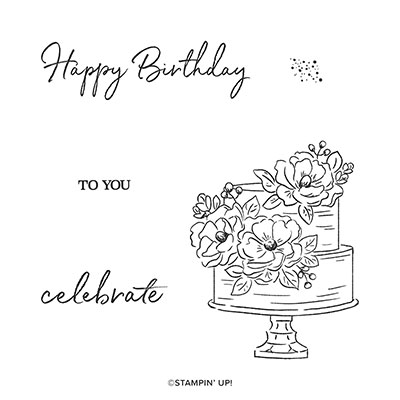
Hey, all! Happy Saturday!! Warm day here and the snow and ice are melting! Living in the country, that means it is a GREAT day to stay home!! Here is another card with the Happy Birthday to You SAB set, this time using the coordinating die set! 


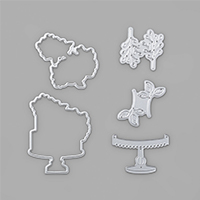
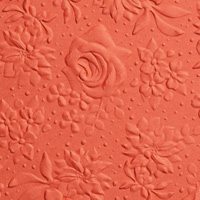
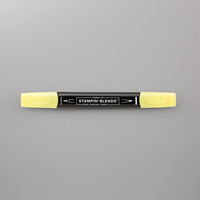
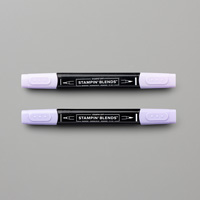
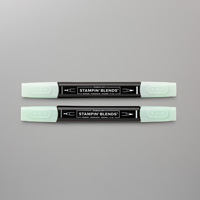
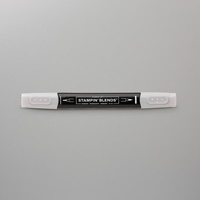
I have been negligent with the In Colors this year so I decided to break open my Purple Posy cardstock and give it a whirl! There has been an issue with the ink pad in this color and they did finally discontinue it. But we have Blends in this color! And a regular marker by the way so don't shy away from it!! I grabbed my blends and colored away! Can you see the dimension on this? One of the dies cuts the cake and flowers, another cuts just the flowers. The cake was stamped with Black Memento on Shimmery White cardstock twice. One was cut with the full cake, one just the flowers. I did color everything on the cake layer, then colored the second set of flowers and attached over the cake with Mini Dimensionals. The flowers were colored with Purple Posy light and dark, leaves Mint Macaron light and dark, and centers Pineapple Punch dark. The cake was edged with light Smoky Slate. The background layer is Shimmery White as well that I embossed with the Country Floral folder. Accent layer of Pineapple Punch and card base of Purple Posy. The cake is attached with Stampin' Dimensionals to the background. Happy Birthday was stamped on a scrap of Shimmery White and cut to size before attaching with Dimensionals. I added just a touch of Shimmery Crystal effects on the flower centers for a pop!

Thanks for stopping by today! Contact me if any questions. Have a GREAT rest of your weekend and don't eat too much tomorrow during the Super Bowl!! Go Chiefs!! Product details and shopping links below!

Paper Pumpkin and Sale-A-Bration


Hey, all! I will be back with some shares this weekend, but first wanted to take a minute to mention the great deal that Paper Pumpkin and Sale-A-Bration make together!  It has been awhile since I've mentioned how Paper Pumpkin works, so let's do that first!

Paper Pumpkin is the Monthly Subscription Program from Stampin' Up! The fun box arrives around the 20th of the month and includes everything you need to create! Each month has a stamp set, ink spot and all the paper products to make a fantastic project! Projects vary from cards to gift bags to treat bags or boxes.

There are two ways to subscribe! First, you can do a monthly pay as you go subscription. To start that, just go to My Paper Pumpkin site and click the subscribe now button! A key fact: you can suspend your subscription for one month anytime. And you can cancel anytime. You are not locked in for any set time! If cash flow is any issue, this is the best option. Cost this way is $22 and includes shipping. You will be billed each month around the 10th just before the kit ships. Stampin'! Up has been very good lately to give us a hint as to what the kit will be. If it doesn't sound like your thing, pause it!

Second option: Prepaid kits. These you would order though My Online Store, or contact me to place the order. There will be a shipping fee (10%, $6.95 minimum) on top of the Prepaid price. You will get an email with a code, and then you need to go to My Paper Pumpkin Site and activate the subscription. You have the choice of 1,3,6 or 12 months! Details below.

137858  1 month  $  21.00
137859  3 month  $  63.00
137860  6 month  $ 114.00 (save $1/mo)
137861 12 month $ 220.00 (buy 11, get 1 free)

That is the item number, length of subscription and cost. Now, if you do a 3, 6 or 12 month Prepaid during Sale-A-Bration (before March 31) you earn FREE SAB items!! Remember that there are two levels of SAB items, Level 1's are Free with a $50 purchase, Level 2's are Free with a $100 purchase!


Perfect time for a trial!! I'm actually going to switch my set up to one of the above! I've always just done the monthly, but why not earn some FREE toys? Contact me if you have any questions!!