7/04/2019

Daisies Two Ways!

Hey all, hope you're having a GREAT 4th of July! Quiet here and I'm OK with that! Working on both sides of this holiday makes it hard to do much! I made it to the stamp room though and hope to make it back before the day is over to work on Birthday cards.

Today's creations - Daisies Two Ways! See if you can see the difference...


Inspired by a card I saw on Pinterest, and a color challenge I'll mention shortly. I went to the stamp room to make Birthday cards and came out with these instead :) I have an idea in my head though, and if it works you'll be seeing this layout again soon!! I always feel like these Daisies are missing something when I just stamp them, and today I saw mention of coloring them (after stamping). Great idea! I may have done this before but it's been so long since I used the set I don't remember! Details below the Challenge info.

After Pinterest, before I went upstairs, I browsed through my saved list of stamping challenges and found a Color Challenge at Just Add Ink that spoke to me!


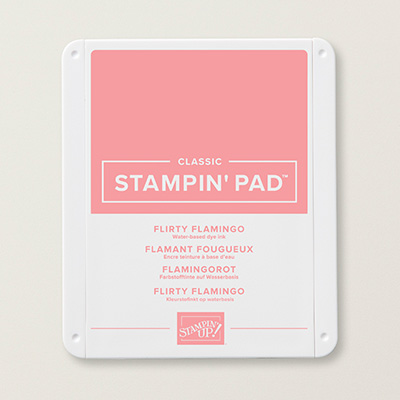
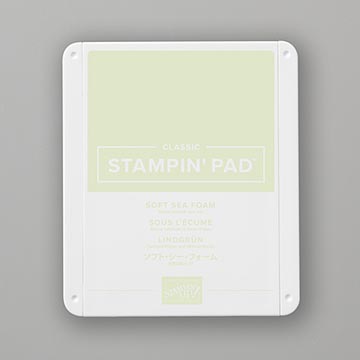
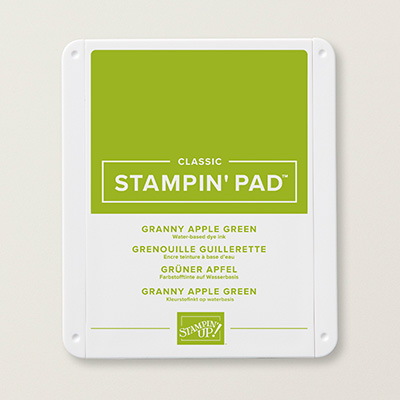
Granny Apple Green, Soft Sea Foam and Flirty Flamingo. Perfect to combine with my Daisy layout!

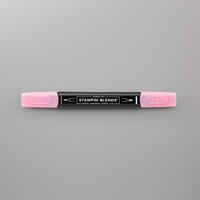
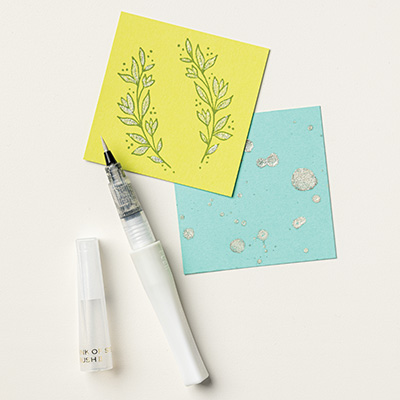
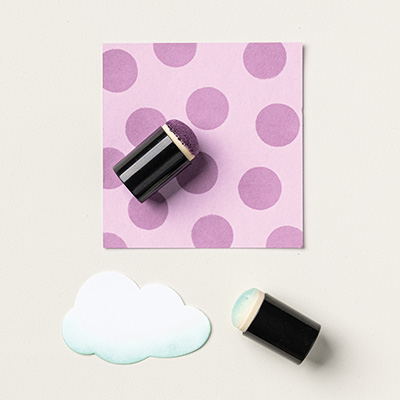
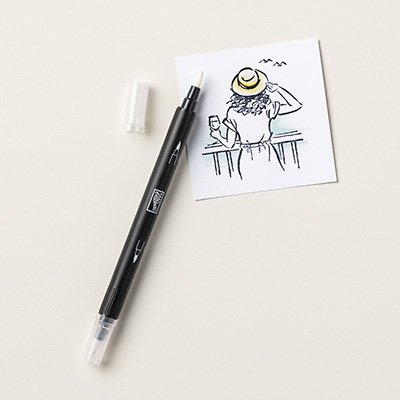
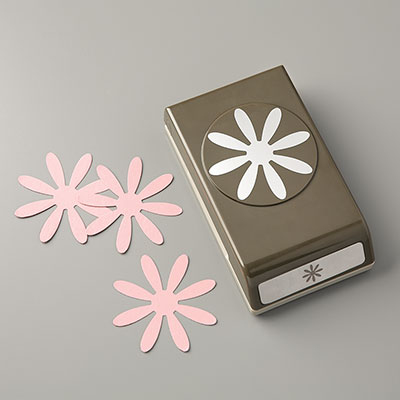
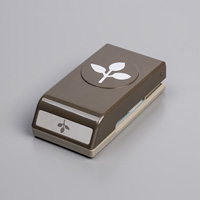
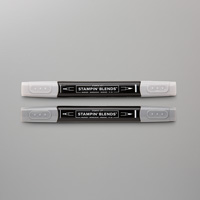
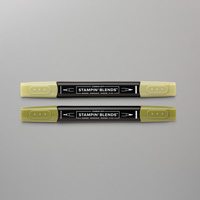
All the daisies were stamped in Flirty Flamingo on Whisper White and punched out. The top card, the daisies were colored with a Blender Pen and Flirty Flamingo ink (from the ink pad). I didn't try to be very careful with the color, I like the white spaces and dark and lighter color. The second card, I used a Sponge Dauber to dab on Flirty Flamingo. Tried to keep a "light hand" but did shade a little darker around the center. I did 3 Daisies together for each Daisy. The center was stamped with Flirty Flamingo, punched with the 1/2" circle. I added some Stella after attaching to the center of the flower. The leaves are from the Painted Harvest set, stamped the "outline" image in Granny Apple, and the background/solid in Soft Sea Foam. Punched with the Leaf punch.

Again I'm apologizing for using retired items, but the more I use the less I have to store or prep for garage sale :) The wood grain background DSP is from last year's catty, as is the "white" ribbon that I colored Flirty Flamingo with my Dark Stampin' Blend. 

Card base is Flirty Flamingo, accent layer of Soft Sea Foam. Whisper White with the DSP attached. Thank you stamped at the bottom in Granny Apple Green. The ribbon is a "cheater" meaning I attached the ribbon around the card at each side, then knotted a smaller piece around it. The flower layers were all attached together with Snail, then to the card with a Stampin' Dimensional in the center. The leaves have Mini Dimensionals under them.

Thanks for stopping by today! Product details and shopping links below.

7/03/2019

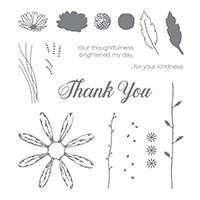
Rooted in Nature Sponge Masking

Hello all, Happy *almost* Fourth of July! Boss let me go a little early so I thought I'd get the next post up! Have a GREAT and more importantly *SAFE* day tomorrow! Not sure we are doing anything holiday related. Are we old or what??

When was the last time you did masking? or very much sponging? Gotta say, it has been awhile for me. But the result of this - wow! Makes me want to go try some more just seeing them again. I did these a while back and never got them posted. Sometimes that is harder than finding time to stamp :)

Here is the first one, a complete copy of something I saw online.  I've seen several people share similar cards, but the first one I saw was Kelly Acheson. Loved the card, but her name also caught my eye as I used to swap in a group she was part of. Her cards were always awesome!


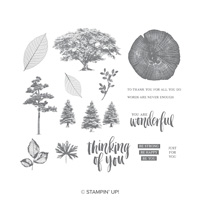
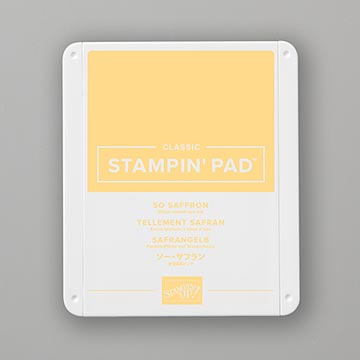
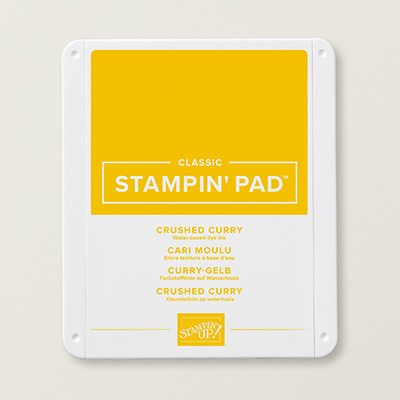
Hers was Pumpkin Pie and So Saffron, mine is Crushed Curry and So Saffron. Pumpkin seemed to "orange" for me, so I went with Curry instead. Seeing hers again, I might need to try a Pumpkin one! Card base is Basic Gray with a few leaves stamped around the edge with Basic Gray. Accent layer of Basic Black behind the Whisper White which was sponged. The circle is done with a post-it note, punch and sponge. Punch a large circle out of a post-it. Sponge around the circle for the background, remove and do inside with the lighter color. Click the link for Kelly above and watch her video. I just re-watched it and realized she "swipes" her sponge much more than I do, I tend to dab more. She also blended Saffron under the Pumpkin on the background and I'm not sure I did?? Either way, I like the way mine came out. Different colors, different strokes, different combinations will give you different looks! Truly, each of us has a different touch too which will lead to different results! The tree and saying were stamped in Black Memento after doing the background. 3 Basic Black Faceted Dots (sorry, now retired) provide the final accent. Attach the background to the Basic Black accent layer and attach all to the card base with Stampin' Dimensionals. Awesome!!

I was going to share another here, I had to try one that looked more "Midwest" :) But, I think I'll save that for another day! Thanks for stopping by today! Hope to be back soon!! Shopping links and product details below.


7/02/2019

Cattle!

Hey all! Back again!

Wanted to show you a little something different. I used my "stash" this weekend and a few non SU stamps to make some thank you notes for my husband. Several years back (probably more than I want to admit - he's worked here 22 years) I tracked down some authentic "cattle" stamps to use for things for him. I know I did a coffee cup for him at one point and many coaster tiles. Maybe other things? The stamps are still hanging around, and I even had a logo one made to use at some point - with their blessing of course! Don't know that I've ever done cards, but I suggested some to him and he agreed. Not going to go into all the details, but a big task was just completed with a celebration and some thank you notes are in order! The thank you is on the inside, but here is what I came up with.


I was going to use several different colors, but he liked this one when I showed him, so I did several just like this. Merry Merlot cardstock and ink, Crackle Paint background, Basic Black cardstock. (retired) Naturals cardstock and Tuxedo Black ink. Easy Peasy!

7/01/2019

July!!

July! Wow!! I may be in denial...just typed June...oops! Happy hot weather to all of you. Personally not a fan, but love all the things growing and blooming outside!! I will survive, just like to wine about it!

First up, here is the Host Code for July. Remember to use it when ordering *less than** $150 online for a chance to earn the Host Benefits, aka **FREE STUFF* :)


I will close this one at 5pm on the 26th. Happy Shopping!

Stampin' Up! has brought back Bonus Days!! Earn in July, spend in August!

jennifer@sunflowerstamper.com

Get a $5 Coupon Code to use is August for *EVERY* $50 you spend during July!!  **Email address required - codes are sent that way. If you earn multiple codes with a single order, they will be emailed together.  Save those emails!!

Lastly, a Recruit Promotion! Join the Stampin' Up! Family during July or August 2019 and earn an EXTRA $30 at time of sign up, *AND* $10 the next month. Wow!! Extra Extra!! The Starter Kit is generally $99 and includes $125 of products AND business supplies valued at $50.  Contact me if you have any questions. Or click HERE to Join NOW!!

Heartland Birthday

Happy Monday all! I know, I know. Monday isn't happy. I'm not working today, but do have to head outside for a while. That will NOT be fun as it is hot, hot, hot and humid! I did get some time in the stamp room this weekend and have some things to share. Yeah! And I'm behind on the sharing - I have some from awhile ago so hopefully several posts coming this week!

First up, a birthday card recent sent to a cousin. A fellow "farm" cousin :)


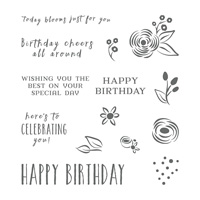
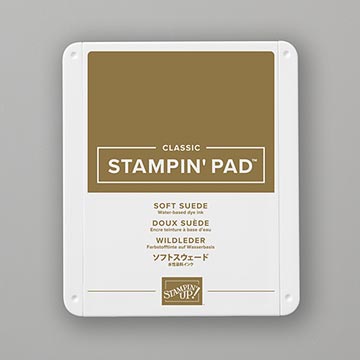
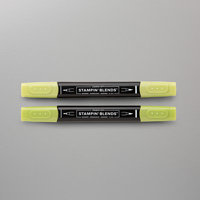
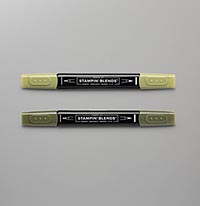
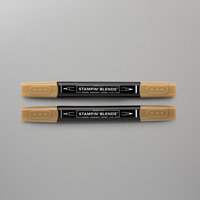
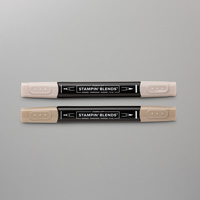
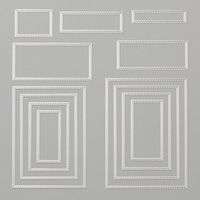
Card base is Soft Suede with a background of (retired) Wood Textures DSP. Sorry to keep using retired!! Happy Birthday from Perennial Birthday was stamped in Soft Suede on the DSP. The barn was stamped in Black Memento ink and colored with Stampin' Blends. I love the end result, but coloring is NOT my favorite! Maybe my glasses need adjusted, but I really struggled to see what was what! Or, maybe I'm just too picky??  Soft Suede, Crumb Cake, Real Red, Smoky Slate, Granny Apple Green, Mossy Meadow and Old Olive. The barn was cut with the Stitched Rectangle die set - my new FAVORITE!! and attached with dimensionals.

Thanks for stopping by today! I'm going to get some cards ready to mail, eat breakfast and head out. Wish me luck :) Product details and shopping links below.

6/24/2019

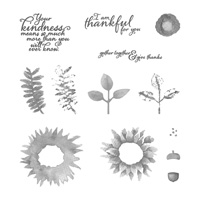
Daffodil Wild Rose

Hey all! Remember me? Sorry, summer is crazy here! As it probably is for all of you. I got together with some stamping friends last Friday and it has motivated me to get back into the stamp room. My Monday was very busy but I got quite a few things checked off my list so I took a break to create! The rest of the list can wait :)  Here is my first creation with the new To A Wild Rose set.

The sketch challenge at Just Add Ink was my starting point.

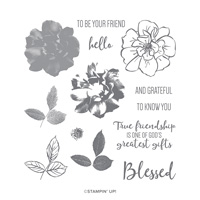
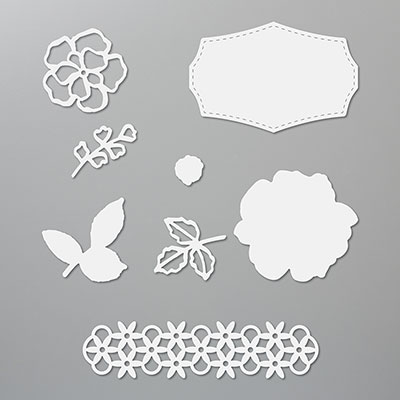
Love the rose set, not so much putting DSP together for stripes! Daffodil Delight is the color, the DSP is from the last catalog. Same piece of paper, stripes on one side, dots on the other. Cut apart and reattached together. It's mostly straight! The rose is fun and I see lots of use in it's future! 3 separate stamps, outline, solid background and accents. I did the outline black and both other stamps in full strength Daffodil. Love the blended look without blending :) I cut the rose out with the coordinating die and attached to the card base with dimensionals. Then I went over it lightly with Stella!

Product details and shopping link below! Thanks for stopping by today - hope to be back soon!


6/02/2019

June!

Hey, all! Happy June! Here is the new Host Code.


Remember to use it for a chance to earn the Host Benefits IF we reach $150+ in orders! Contact me if any questions.

Also remember tomorrow, June 3 is the LAST day of the Annual & Occasions Catalogs. Get those orders in!!

That also means the NEW Catalog sales period starts Tuesday June 4th NOON Mountain time! Let me know if you NEED the new catalog!